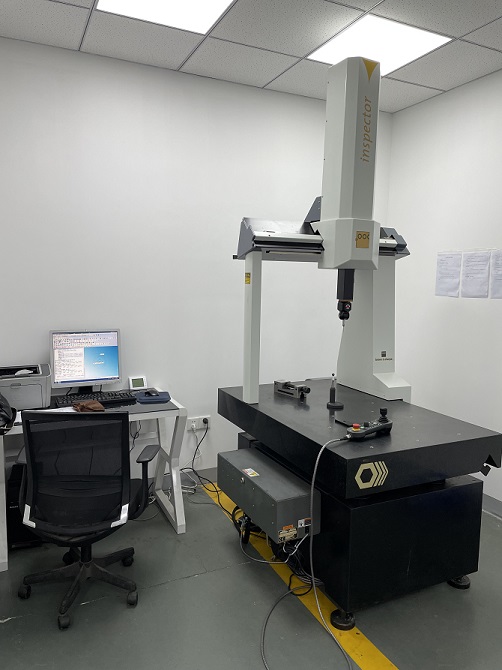
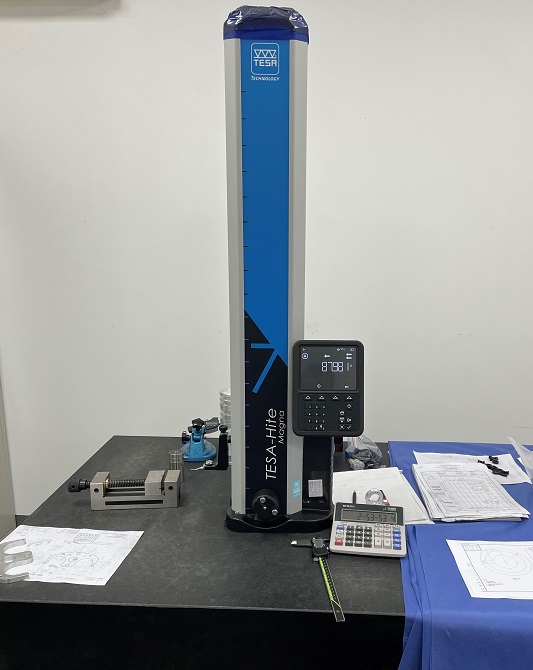
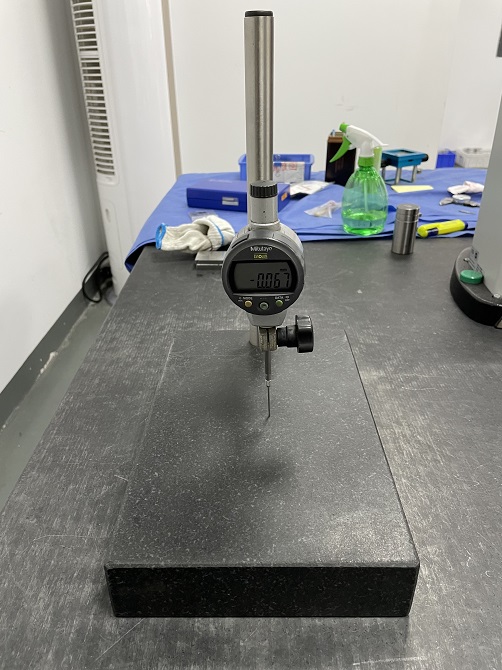
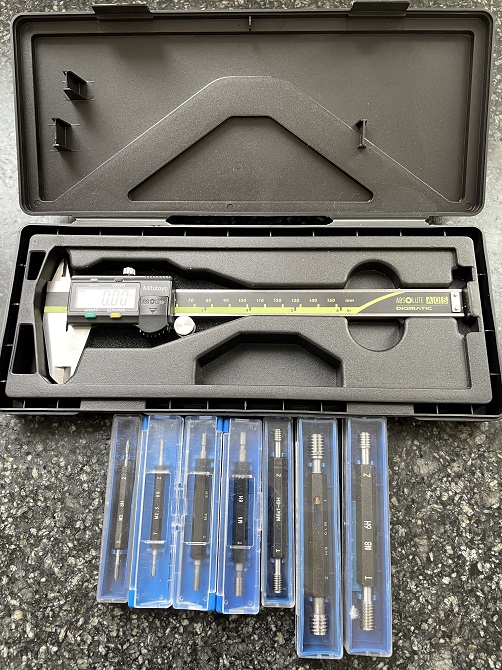
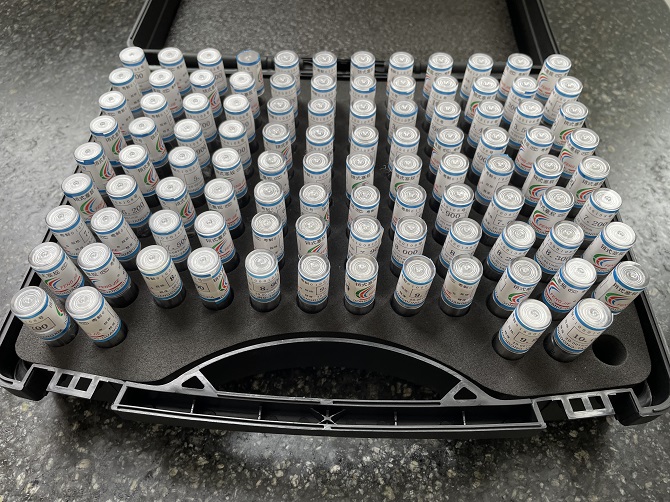
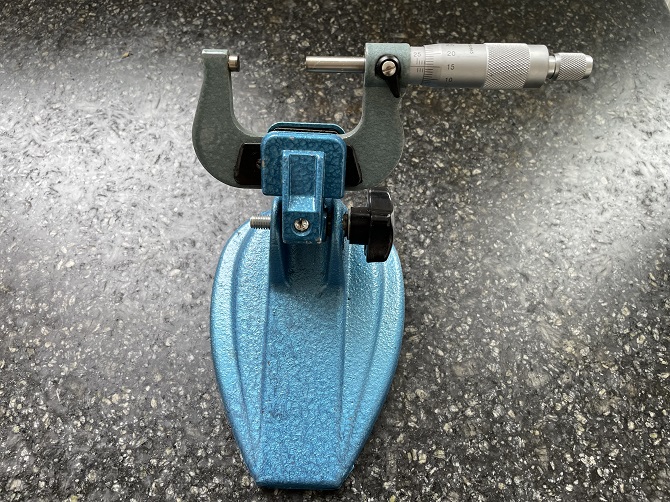
1- Inspection equipment list
CMM: 1 set;
Height gauge: 3 set; Profile projector: 1 set; Hardness tester: 1 set;
Roughness tester: 1 set; Micrometer: 12 set; Concentricity gauge: 1 set;
Caliper: 25 set; Thread gauge: 1 set; Plug gauge: 1 set; Ring gauge: 1 set;
2- Inspecting colleague
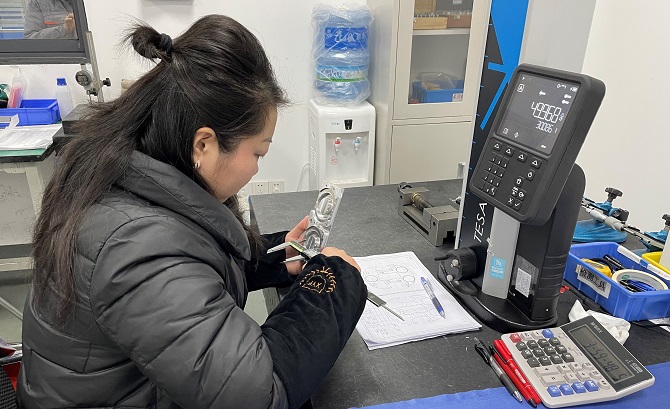
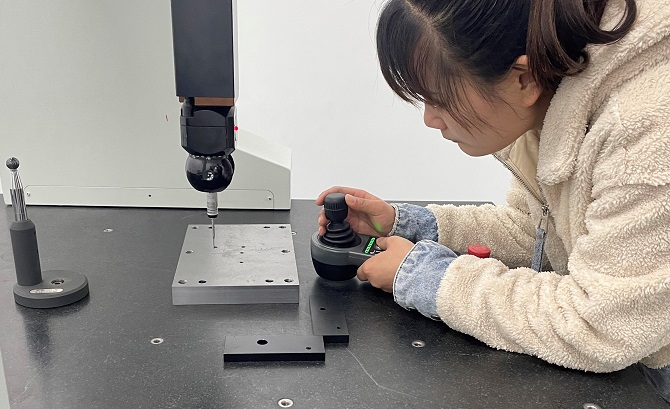
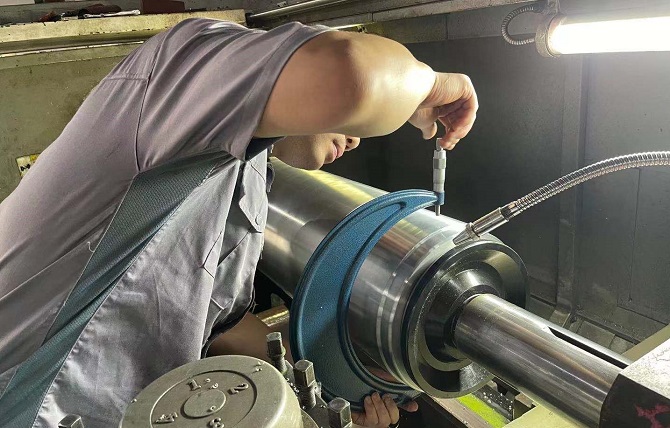
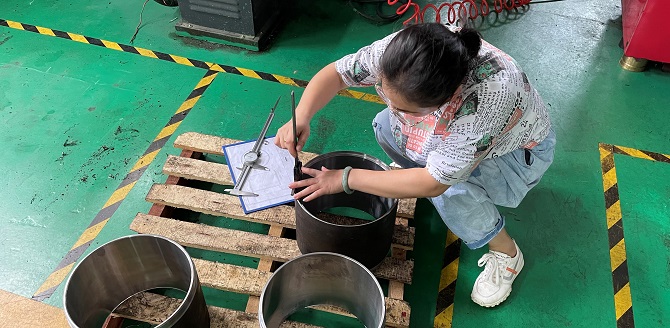
3- Inspection procedure
Our inspection procedure include:
-Incoming material inspection;
All incoming raw material for CNC machining production are checked and marked for receipt
inspection before used. Varies measurements are taken to check against approved data.
-In processing inspection;
We perform inspections during the CNC machining manufacturing process. Frequency of
inspection depends on the quality standard set forth by the project. All manufacture data
are recorded for future reference.
-Final inspection;
All finished CNC machined parts are inspected according to our quality standard for each
project. Products are sampled according to the AQL sampling rate before they leave our
production plant into the warehouse.
4- Inspection report
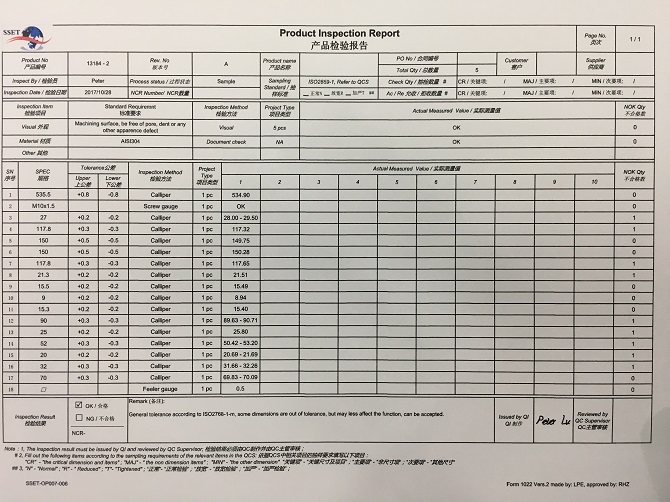
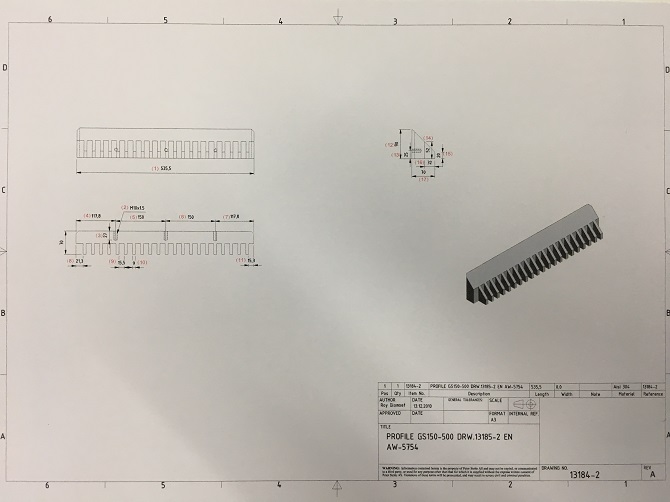
5- Certificate
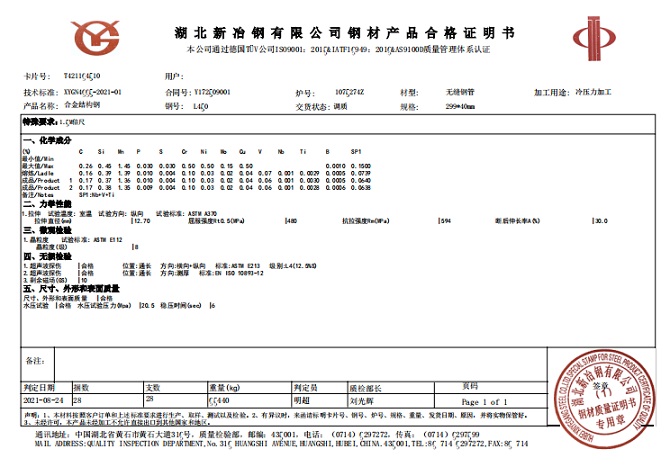
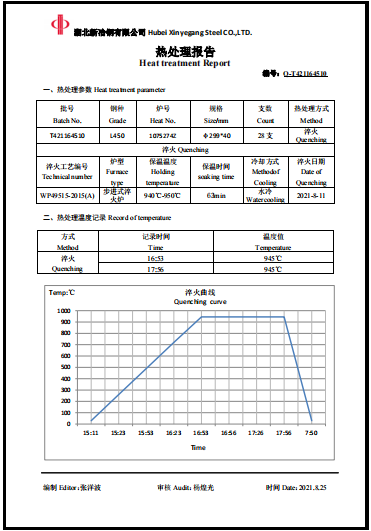
Material certificate
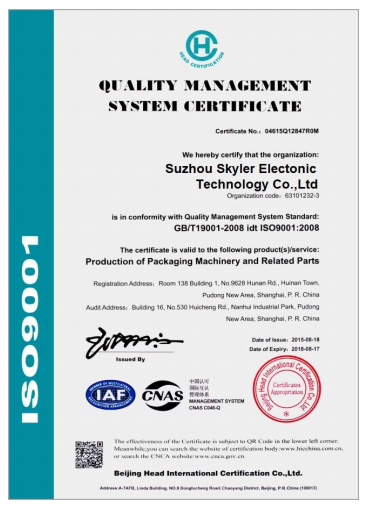
ISO9001 certificate
6- Tolerance Standard
General tolerance ISO 2768 M. Please refer to the ISO 2768 tables below in details.
Table 1 - Linear Dimensions
Permissible deviations in mm for nominal size in mm | Tolerance class designation (description) | |||
f (fine) | m (medium) | c (coarse) | v (very coarse) | |
0.5* to 3 | ±0.05 | ±0.1 | ±0.2 | - |
above 3 to 6 | ±0.05 | ±0.1 | ±0.3 | ±0.5 |
above 6 to 30 | ±0.1 | ±0.2 | ±0.5 | ±1.0 |
above 30 to 120 | ±0.15 | ±0.3 | ±0.8 | ±1.5 |
above 120 to 400 | ±0.2 | ±0.5 | ±1.2 | ±2.5 |
above 400 to 1000 | ±0.3 | ±0.8 | ±2.0 | ±4.0 |
above 1000 to 2000 | ±0.5 | ±1.2 | ±3.0 | ±6.0 |
above 2000 to 4000 | - | ±2.0 | ±4.0 | ±8.0 |
Contact: Winston
Phone: 13771872249
E-mail: wst@szskyler.com
Whatsapp:Winston
Add: NO. 2, Taishan RD, SND, Suzhou, China
We chat